How do I update my bot
Update Your Bot
Disclaimer
Authava provides a self-service portal, Studio, for managing standard bot updates:
To update your bot's disclaimer:
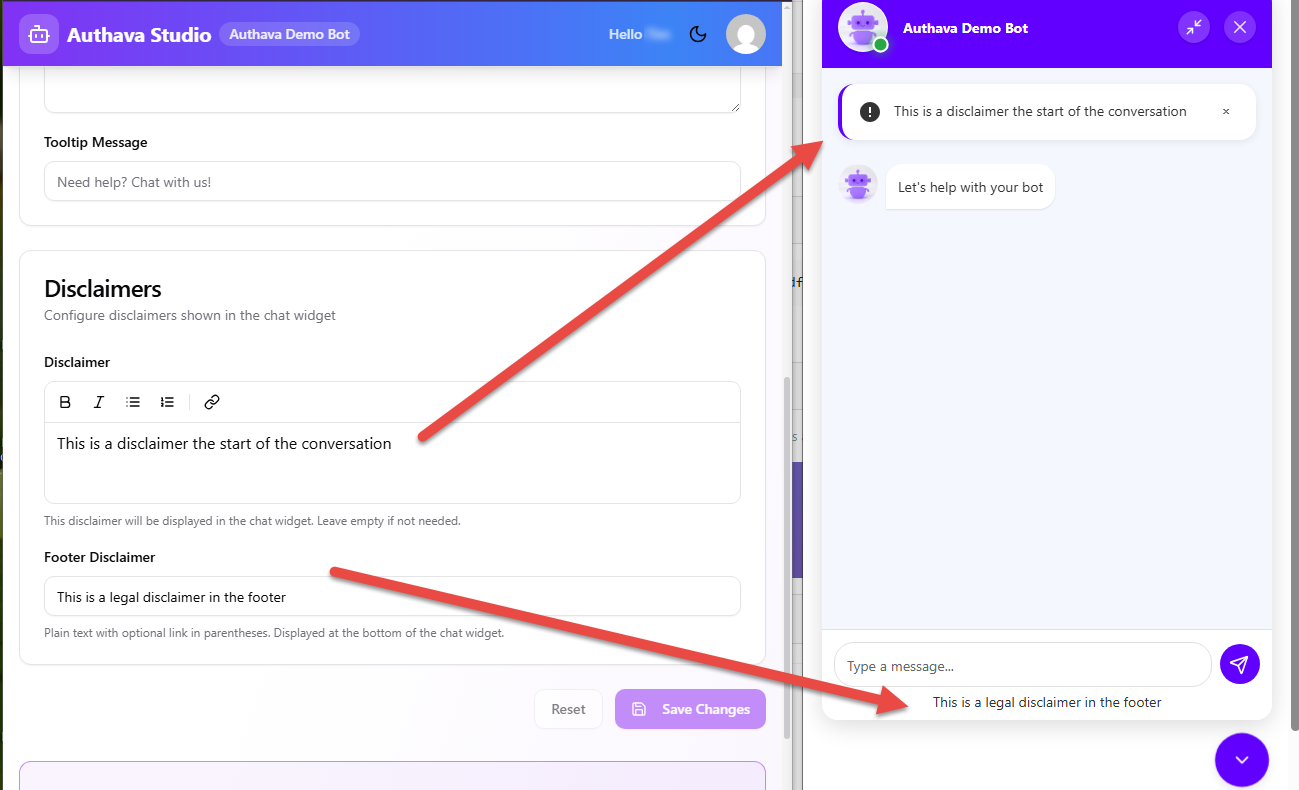
- Open Configure > Appearance.
- Scroll to the Disclaimers section.
You can add a disclaimer in one of two ways:
(1) Footer Disclaimer
Adds a disclaimer that appears in the bot footer throughout the conversation.
(2) Conversation Disclaimer
Adds a disclaimer that is displayed at the beginning of the conversation before the user interacts with the bot.
Let users upload files
You can allow users to upload files to your bot using a simple toggle in Studio.
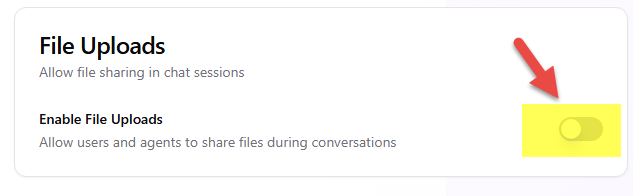
Go to Configure > Behavior > File Uploads, and switch it on.
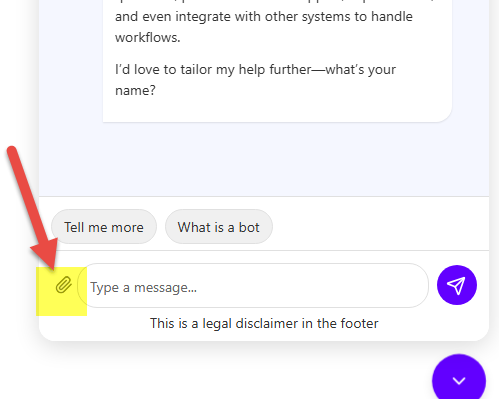
If enabled, visitors will then see a paperclip icon that lets them upload files. The icon appears after the visitor makes their first message.
We make this a configurable toggle because some clients may not want to allow file uploads due to security, compliance, or system load concerns.
You can download uploaded files from Chat History using the file link.
What your user sees in the chat:
What you'll see in Studio:
Who Receives Notifications
Your bot can send:
- Chat Session Transcripts — emails containing chat activity throughout the day.
- Weekly Summary Reports — a regular summary of bot activity, performance, and growth.
You can manage both directly in Authava Studio.
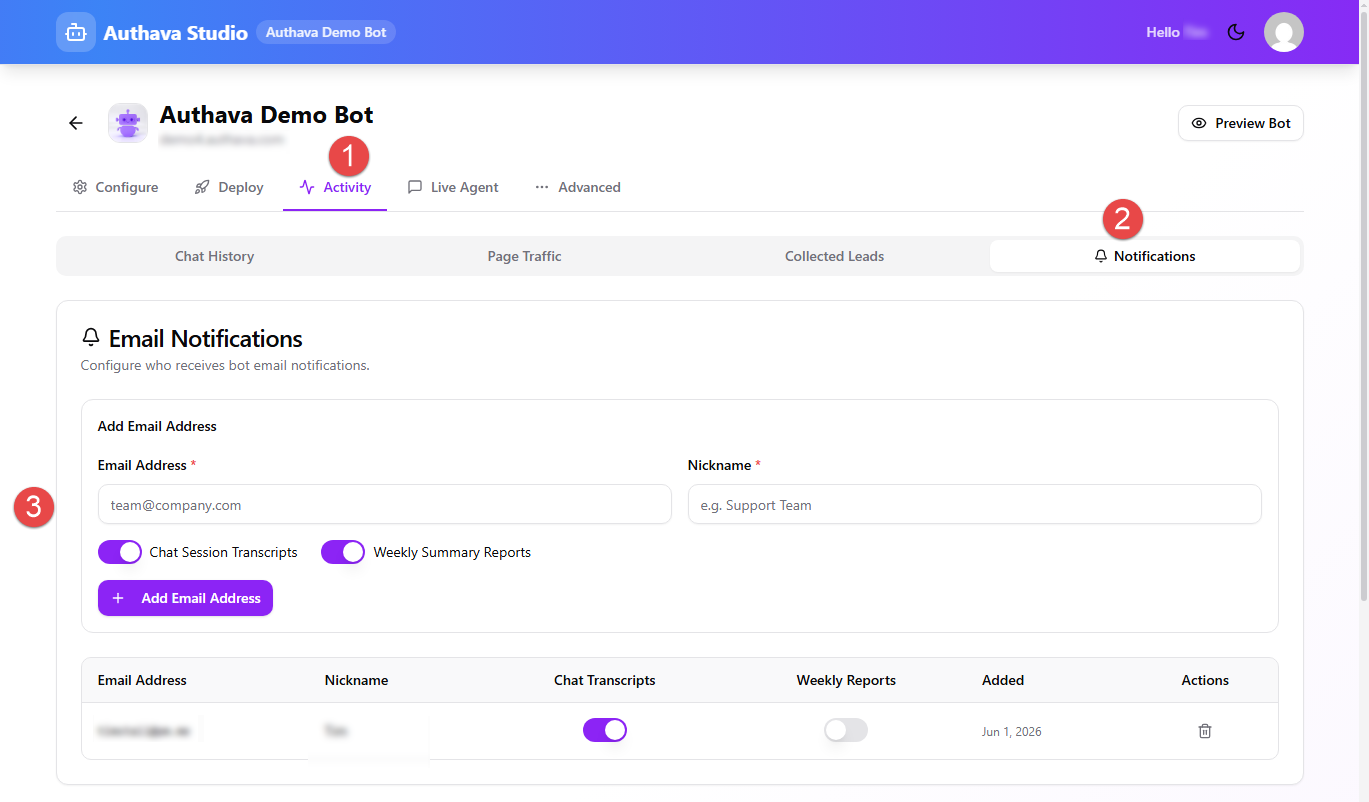
- Open your bot and select Activity.
- Select Notifications.
- Enter the recipient’s email address and a nickname (so the report can be a little more personal).
- Turn on Chat Session Transcripts, Weekly Summary Reports, or both.
- Click Add Email Address.
You can update each recipient’s notification settings at any time using the toggles, or remove a recipient using the trash icon.